From Button Chaos to Python Calm: Designing My Garden House with CadQuery
Contents
I’ve always had a complicated relationship with CAD software. It’s not that I don’t appreciate the power of digital design tools—it’s just that they never seem to work with me.
If you’ve ever opened a CAD program and been confronted with a swarm of buttons, tabs, and menus—only to watch them rearrange completely after a version update—you know what I’m talking about. Most CAD tutorials aren’t much help either. They typically go something like: “Click here, then here, now switch to this tab, drag this, click this tiny icon that has moved since last version…” You get the idea.
The Problem with Freestyle
When I build something—like furniture or a shed—I usually sketch it out freestyle, rough and spontaneous. That can be fun, but it often leads to extra “on-the-fly” fixes because the original plan was too vague.
This time, I was designing a garden house for my backyard—a small 2×2 m structure with a simple sloped roof. I wanted to be a bit more precise. I wanted a model where I could measure everything before I start sawing. That’s when I discovered CadQuery.
Meet CadQuery: CAD for Pythonistas
CadQuery is a Python-based, parametric CAD scripting framework. Instead of dragging shapes around with a mouse, you write code to describe your 3D models.
At first, that sounded a bit intimidating—write code to do CAD? But it quickly clicked. I already know Python. Why not describe geometry using logic instead of wrestling with a GUI?
No more UI overload. No more tutorials that become outdated after every major release. Just clean, versioned Python code.
Here’s an example from my garden house model:
frame_width = 2000
frame_depth = 2000
beam_width = 95
beam_height = 95

main_frame = (
    cq.Workplane("XY")
    .box(frame_width, beam_width, beam_height)
    .translate((0, -frame_depth/2, beam_height/2))
)
That defines a single floor beam. Want to try 100 mm beams instead? Just change a number. The rest of the model adapts accordingly.
Tooling That Works with You
To preview my models, I used CQ-editor, an IDE specifically built for CadQuery. It shows your 3D model in real time as you edit the Python script—so you get the best of both worlds: scripting and visual feedback.
If you’re already a FreeCAD user and want to bring CadQuery into that ecosystem, there’s even a CadQuery FreeCAD Workbench that integrates CadQuery scripts directly into FreeCAD’s workflow. It’s ideal for combining parametric scripting with FreeCAD’s native modeling tools.
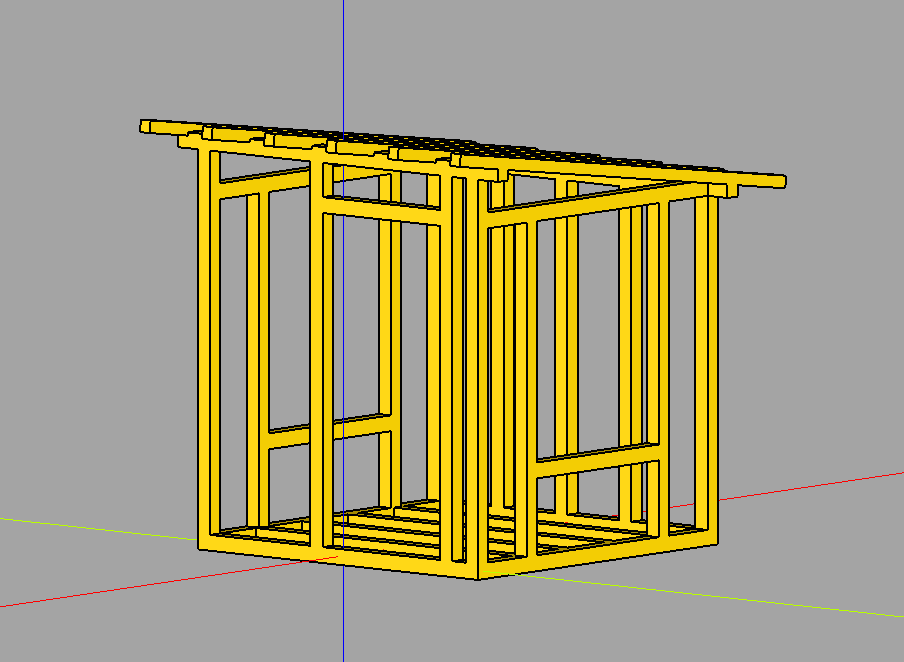
Real-World Project: My Garden House
You can find my full CadQuery script here: 👉 SlashGordon/gartenhaus on GitHub
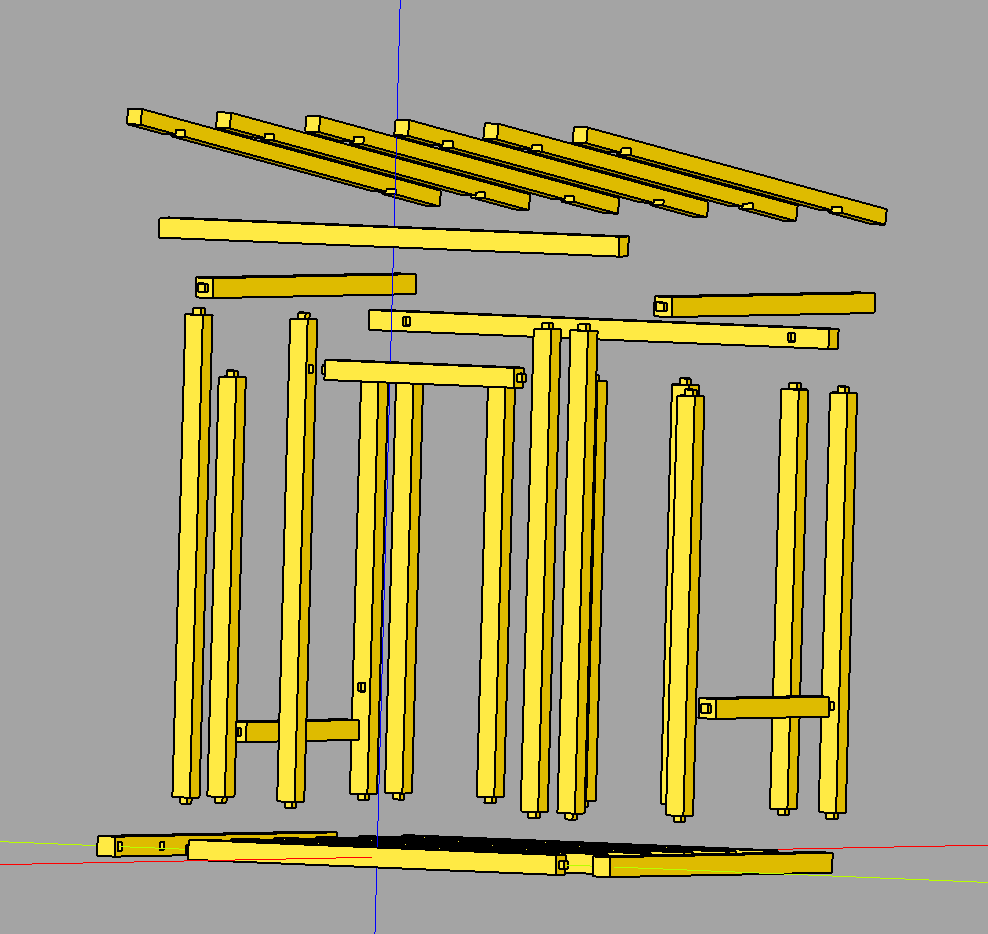
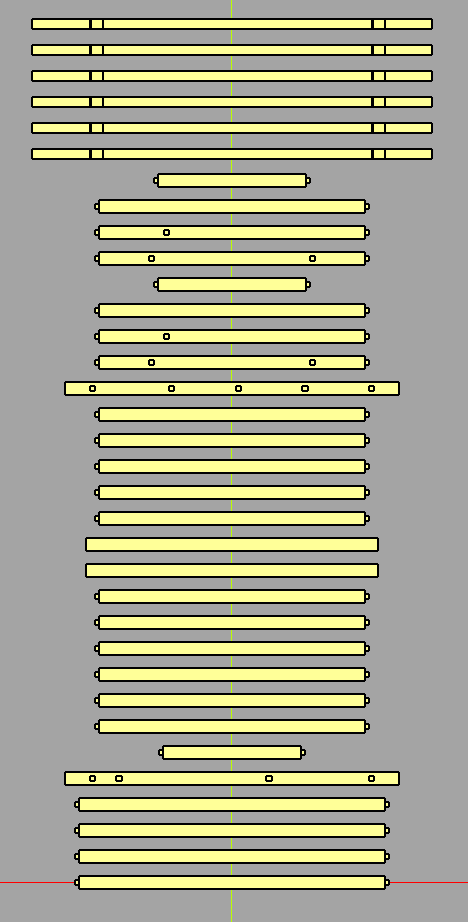
The project models the basic wooden structure: vertical beams, floor frame, roof supports—all written in Python and rendered with CadQuery. To enhance visualization and understanding of how the components fit together, I added an exploded view feature. This allows for a clear and detailed visualization of the joining parts. Additionally, I integrated a JSON file generator that creates an inventory of all parts used in the construction, making it easier to manage and track the necessary components.
After working this way, I’m hooked. Being able to tweak a parameter and regenerate the full model in seconds feels powerful. It also makes it much easier to share and version-control designs (goodbye, mystery .fcstd files with unclear changes).
Why CadQuery Won Me Over
- ✅ Python-based: Leverages a language I already know.
- ✅ No GUI guesswork: No more endless buttons and UI surprises.
- ✅ Fully parametric: Everything can be tweaked through variables.
- ✅ Great tooling: CQ-editor and CadQuery FreeCAD Workbench make it even better.
- ✅ Open source and scriptable: Ideal for automation and reproducibility.
Final Thoughts
Using CadQuery finally made CAD feel approachable, understandable—and even fun. If you’ve ever been frustrated by traditional CAD software and prefer the clarity of code, CadQuery is worth a serious look.
Whether you’re designing a 3D-printed part or an entire garden house, it’s refreshing to have full control over your model with nothing but a text editor and a few lines of Python.
Author SlashGordon
LastMod 2025-05-28